★ MQTT Message Broker 만들기
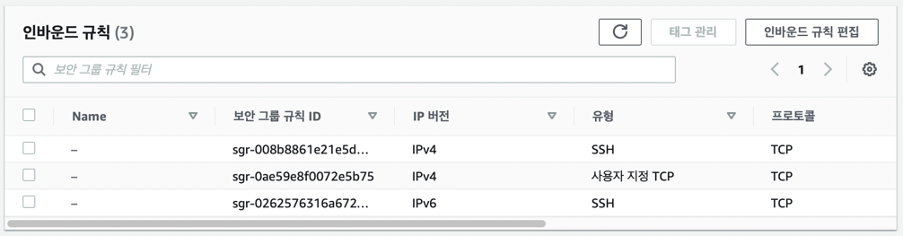
1. EC2 인스턴스 생성 (우분투로 함) 후 접속
- 인바운드 규칙 추가: 사용자지정 TCP, TCP, 1883, 0.0.0.0/0
2. mosquitto 설치
$ sudo apt install mosquitto
$ sudo apt install mosquitto-clients
3. mosquitto 실행
$ sudo systemctl start mosquitto
$ sudo systemctl enable mosquitto
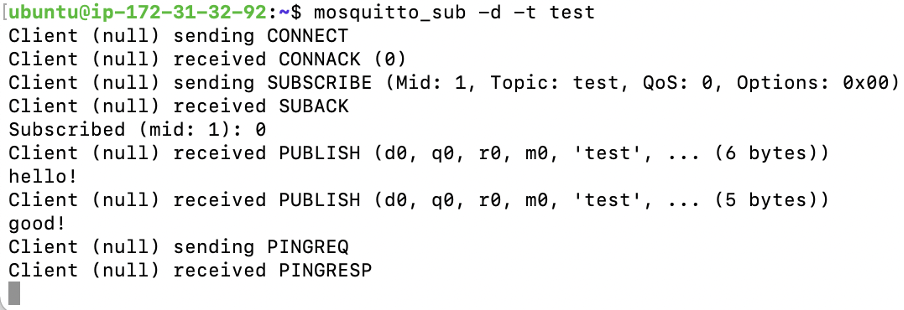
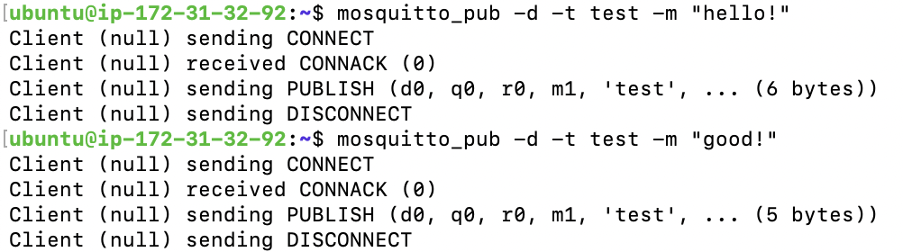
4. pub & sub
$ mosquitto_sub -d -t 토픽이름$ mosquitto_pub -d -t 토픽이름 -m "메시지"-> 창 두개 띄워서 한쪽에서 sub 먼저 하고 다른쪽에서 pub
★ MQTT 사용해서 File Copy Program 구현하기
1. nodejs 설치
$ sudo apt-get install -y curl
$ sudo apt update
$ sudo apt install nodejs
$ sudo apt install npm
2. nodejs 모듈에 mqtt 설치
$ npm install mqtt -save
3. 코드 작성
/* FileSender.js */

// mqtt
var mqtt = require('mqtt');
var client = mqtt.connect('mqtt://localhost:1883');

// topic
var topic = 'myTopic';

// file read
var fs = require('fs');
var fileName = 'file.txt';
var fileData = fs.readFileSync(fileName, 'utf-8');

// send
client.on('connect', function() {
        client.subscribe(topic);
        client.publish(topic, fileData);
});

client.on('message', function() {
        console.log(topic+" send!");
        client.end();
});
/* FileReceiver.js */
// mqtt
var mqtt = require('mqtt');
var client = mqtt.connect('mqtt://localhost:1883');
// topic
var topic = 'myTopic';
// saved filename
var fileName = 'fileRecv.txt';
// file system
var fs = require('fs');
// receive
client.on('connect', function () {
client.subscribe(topic);
console.log(topic+" receive!");
});
client.on('message', function (topic, message) {
fs.writeFileSync(fileName, message);
client.end();
});
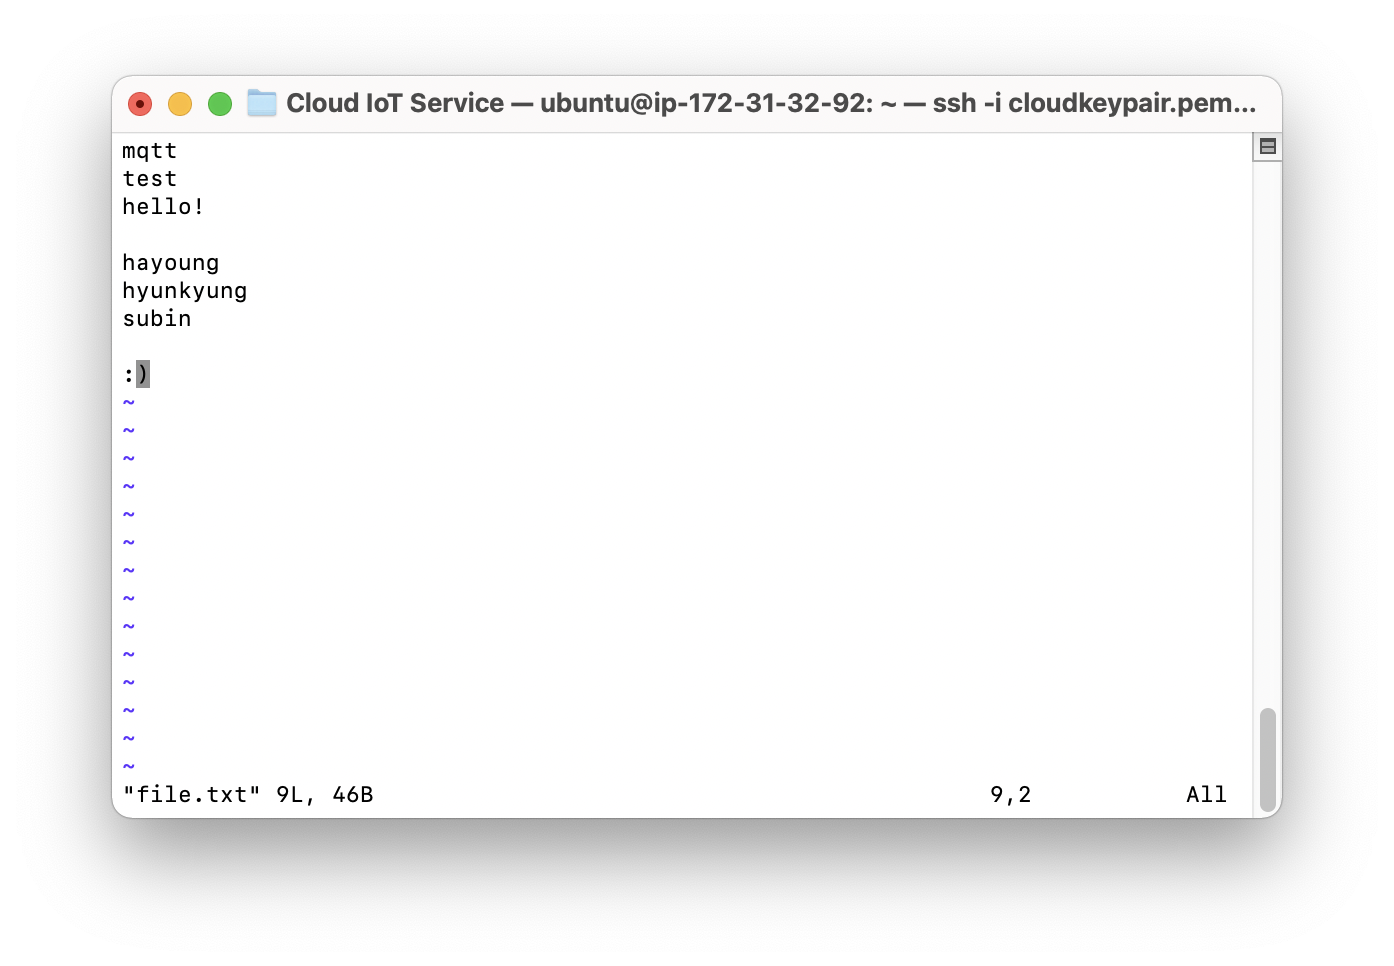
4. 실행

- 초기 상태


- 창 두개 띄워서 FileReceiver.js 실행 -> FileSender.js 실행

- 실행 후

- 파일 잘 복사됨
'📁 > cloudIOT' 카테고리의 다른 글
| AWS 기반 주차 관리 시스템 (3) 코드 (0) | 2022.06.16 |
|---|---|
| AWS 기반 주차 관리 시스템 (2) Lambda 설정 (0) | 2022.06.16 |
| AWS 기반 주차 관리 시스템 (1) AWS IoT Core (0) | 2022.06.16 |
| Amazon Rekognition 이미지에서 텍스트 감지 (nodejs) (0) | 2022.05.16 |
| 라즈베리파이 OS 설치 & 노트북 원격 접속 (0) | 2022.04.04 |